How to Install Windows 10 or 11 from Scratch (Clean Install)
Follow the steps below to perform a clean install using official Microsoft tools.
A clean installation of Windows 10 or 11 is ideal for:
Replacing an outdated system (like Windows 7 or 8)
Fixing performance issues or malware
Starting fresh on a new or formatted PC
Follow the steps below to perform a clean install using official Microsoft tools.
 What You’ll Need:
A clean USB flash drive (minimum 8 GB)
A working PC to create the installer
Your Windows license key (from your email or account)
 Step-by-Step Guide
 Step 1: Download the Media Creation Tool
Go to the official Microsoft website and download the Media Creation tool.
Windows 10: https://www.microsoft.com/en-us/software-download/windows10
Windows 11: https://www.microsoft.com/en-us/software-download/windows11
Run the tool and accept the license terms.
 Step 2: Create a Bootable USB Drive
Choose “Create installation media (USB flash drive)”, then follow the prompts.

Select the correct edition (Windows 10 or 11)
Choose your language and architecture (64-bit is recommended)
Insert your USB drive and let the tool create the installer
 Step 3: Boot From the USB Drive
Once created:
Insert the USB drive into the PC you want to install Windows on
Restart the PC and enter the BIOS/boot menu (usually F12, DEL, or ESC during startup)
Select the USB drive to boot from it
During setup:
Choose “Custom Installation”
Format the primary partition (if needed)
Proceed with installation
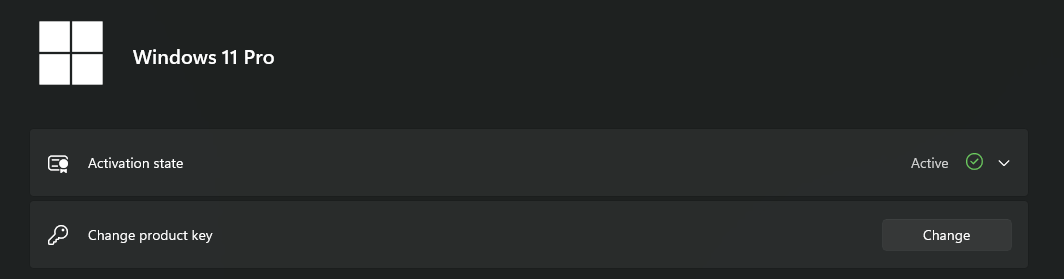
 Activation Tip:
You can enter your Windows product key during setup, or skip and activate later under:Settings > System > Activation > Change product key